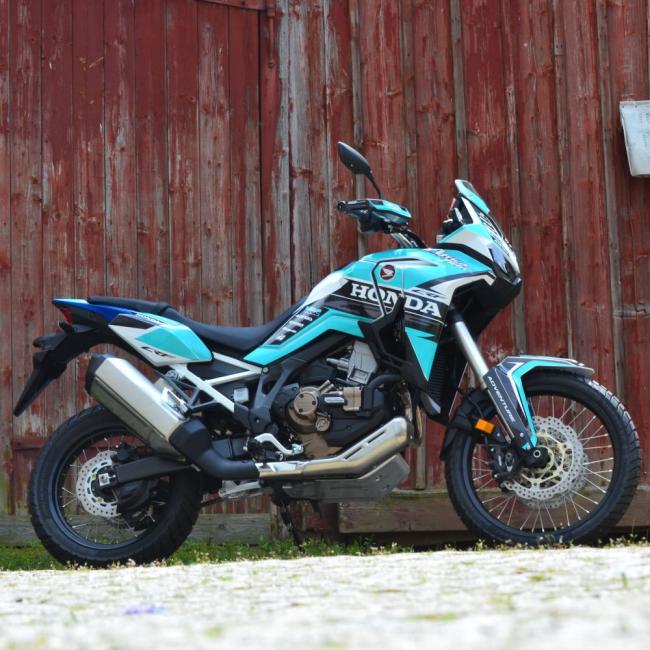
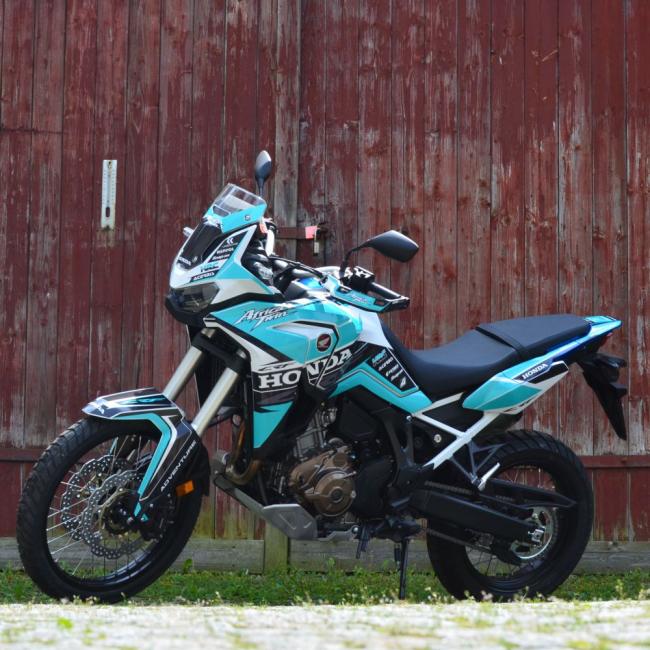
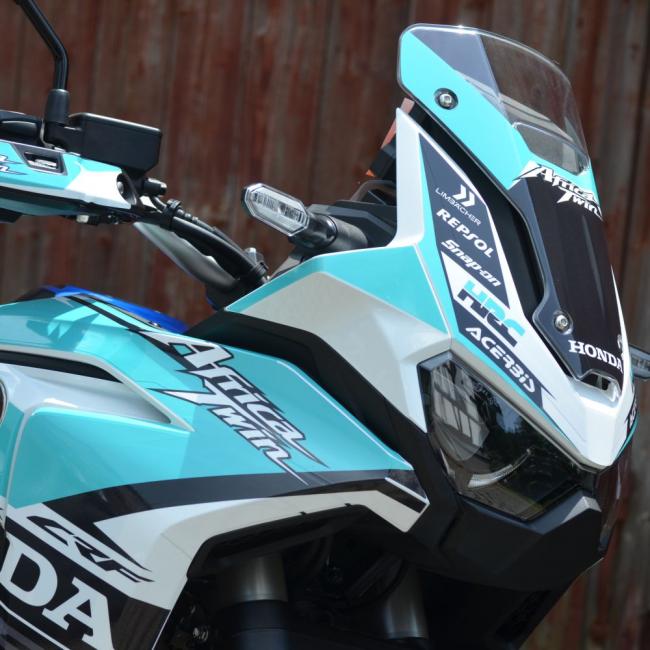
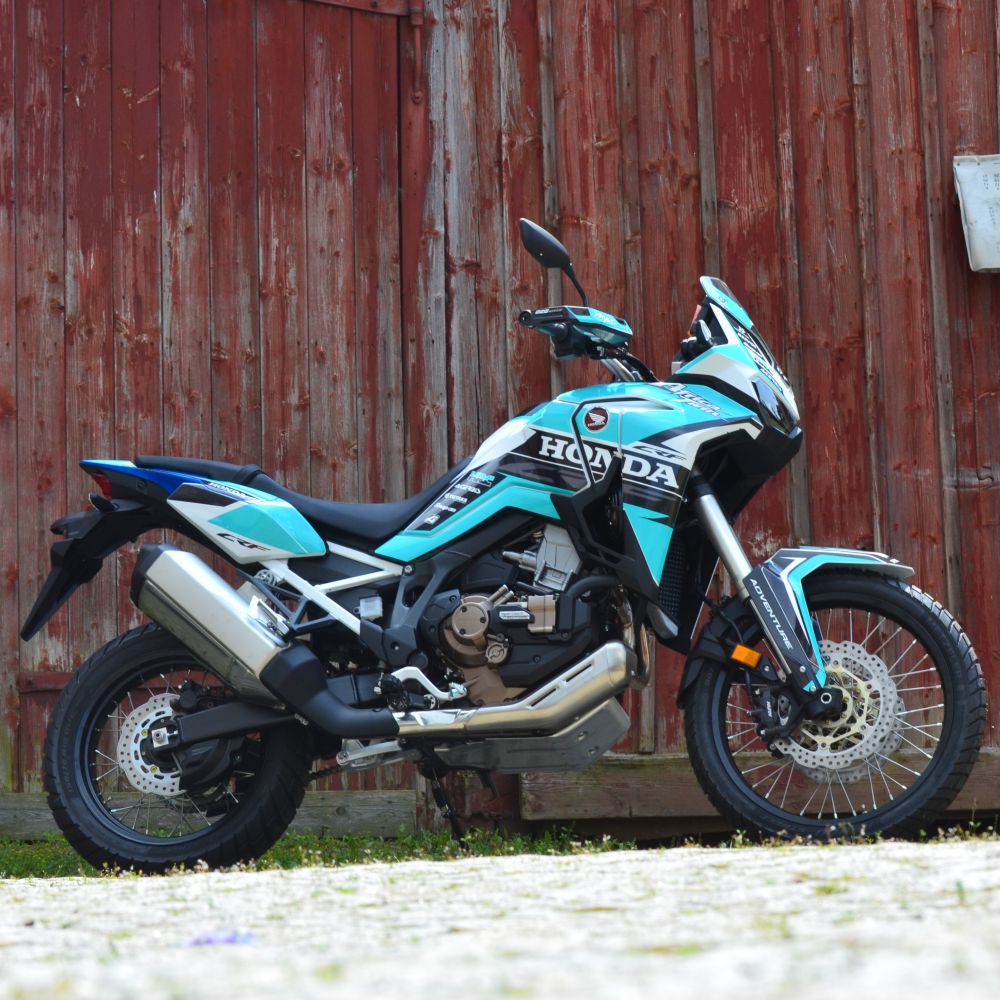
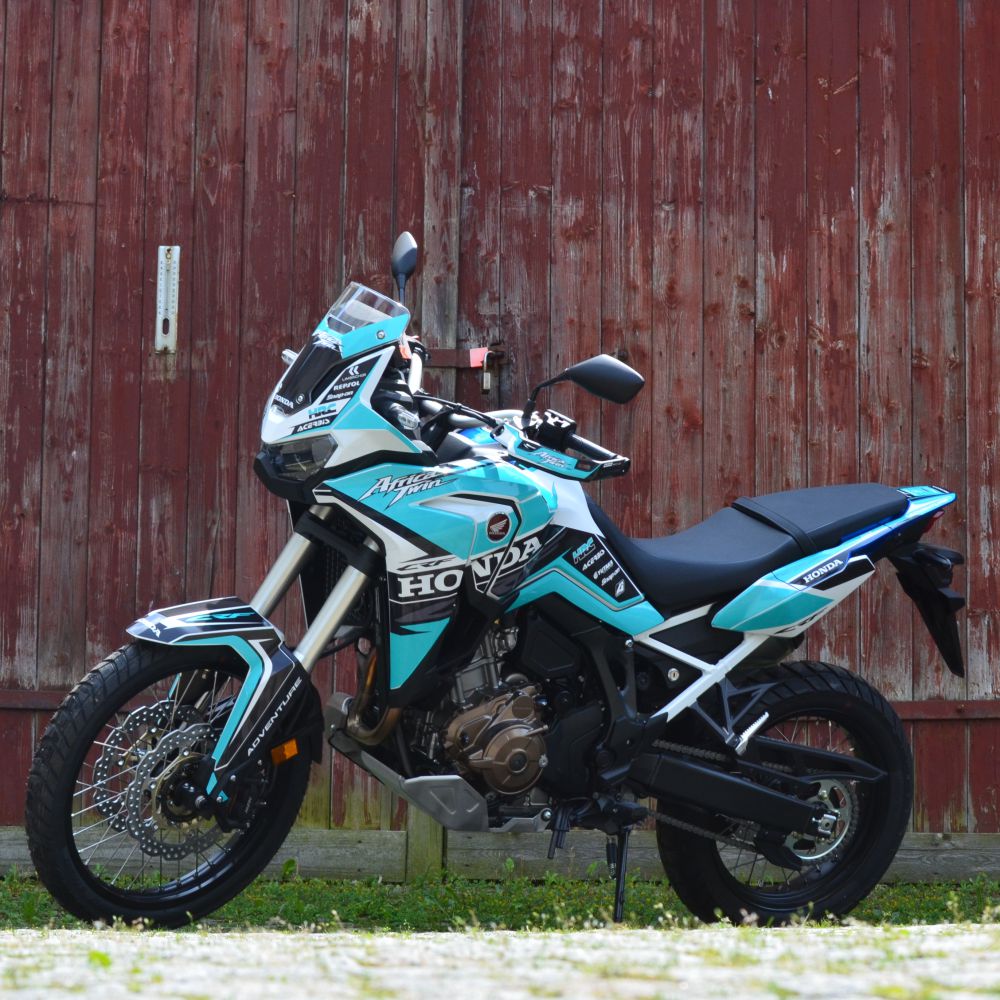
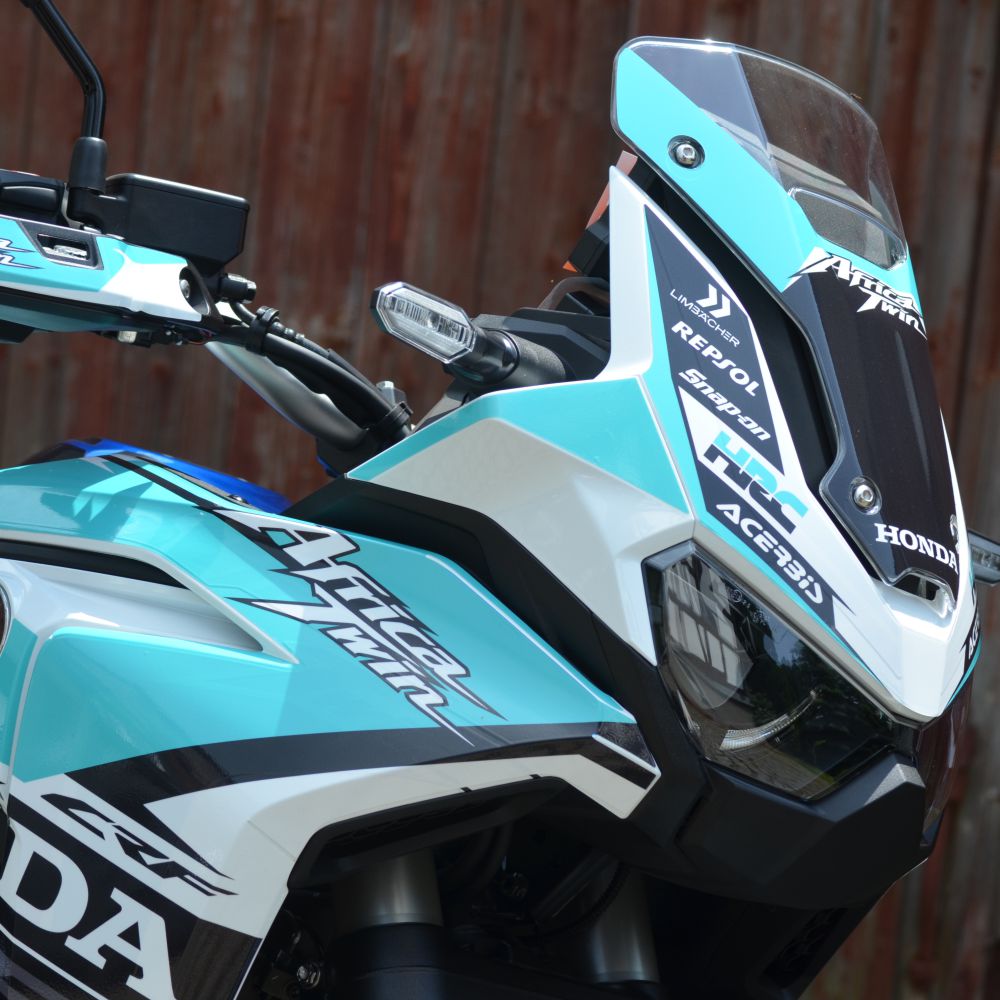
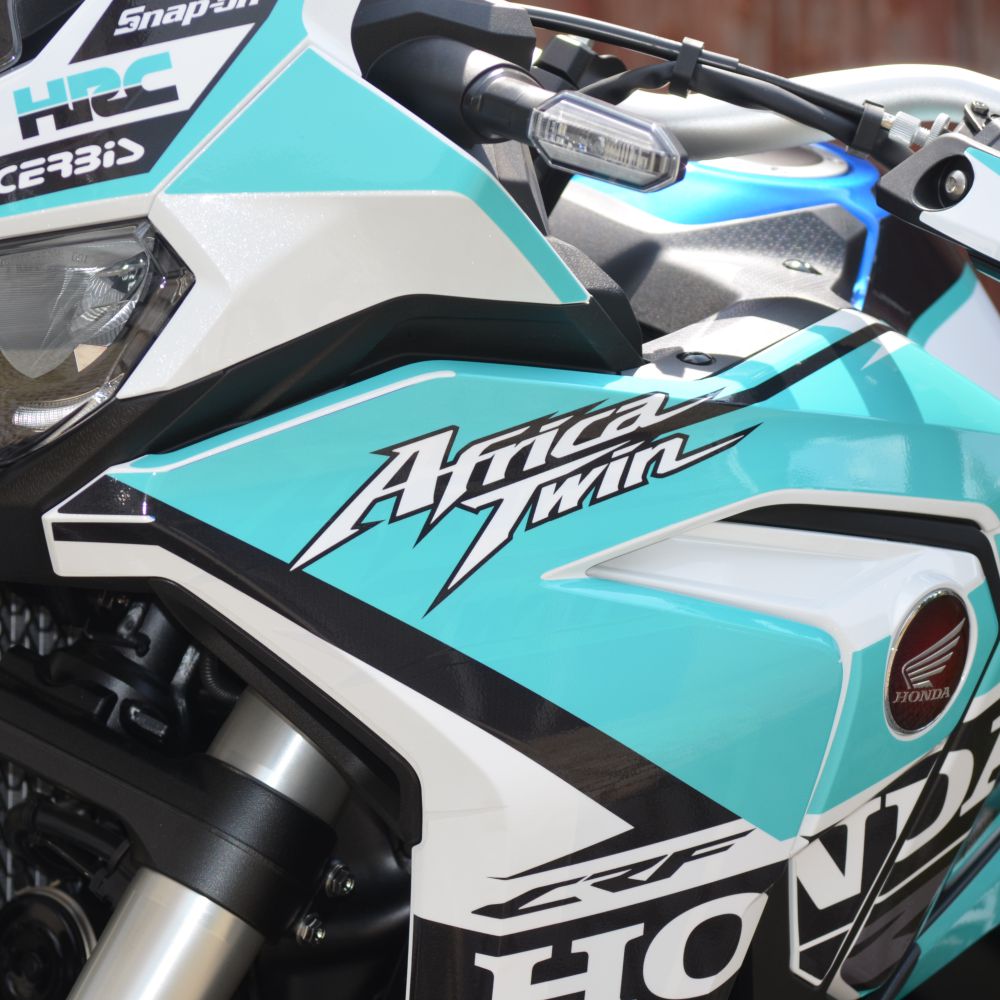
Honda Africa Twin CRF1100L 2020–2021 – Turquoise Decal Kit
Suitable for the Honda Africa Twin CRF1100L, model years 2020–2021
Suitable for the original OEM road bodywork. Fitment may vary with racing or aftermarket bodywork.
Product details at a glance
Make and model: Honda Africa Twin CRF1100L
Model years: 2020–2021
Design / version: Turquoise
Decal manufacturer: 4moto
Part number: HDS-39200-2
Digital print with UV-protective laminate · Gloss or matt as selected
What is included
1 complete vinyl decal set as shown in the overview.
Application and positioning guides.
Materials and features
Digital print with UV-protective laminate.
Precision contour cutting.
High-tack vinyl as specified for this product variant.
Air-release technology makes it easier to squeegee out trapped air.
Wet application recommended; follow the supplied vinyl instructions.
Gloss or matt as selected.
Full-coverage decal sections as shown in the overview.
Later removability depends on vinyl type, surface, condition and duration of use.
Individual replacement sections can be reordered by email.
The right vinyl for each component To ensure reliable adhesion on challenging components, we select the vinyl to suit the motorcycle and the surface. Where required, we use high-tack vinyl on textured plastics, structured surfaces or powder-coated parts.
Your decal kit may therefore contain different types of vinyl, selected for the relevant areas of the motorcycle. Thorough cleaning and correct installation in accordance with our application instructions are essential for reliable adhesion.
Colour reproduction and product images: The product images include original photographs of motorcycles as well as some digitally created representations. The colours of the supplied vinyl may differ slightly from the images because monitors, tablets and smartphones reproduce colours differently.
Video guide: applying your decal kit
Take time to watch the video guide before installation. Also use the application and positioning guides supplied for your decal kit.
A connection to YouTube is made only after you click.
Your decal kit is made for you after you place your order, in your chosen specification. We produce your order individually and prepare it for shipping as quickly as possible. Please refer to the delivery time shown for the item when planning your project. Thank you for your patience!
Learn more: select a section to open the detailed information.
Installation, tools and tips
What you need for installation
Scissors and a craft knife
Squeegee
Hairdryer or heat gun
Suitable cleaner and degreaser
A clean, preferably dust-free workspace
Some time, patience and a calm working environment
Difficulty level
Intermediate
Installation requires patience and careful work. Have another person help with larger sections or use a professional installer.
Installation tips for the best result
Prepare the motorcycle
Thoroughly clean and degrease the bodywork sections to be covered.
Completely remove polish, wax, silicone and other care products.
Remove screws, accessories or bodywork parts if they obstruct installation.
Use the positioning guide to identify each decal section and test its position before application.
Tip: Even small traces of grease, silicone or wax can reduce vinyl adhesion.
Workspace and temperature
Work in a clean, dry and preferably dust-free environment.
The recommended application temperature is between 18 and 25 °C.
The motorcycle and decal vinyl should have reached room temperature before installation.
Do not work in direct sunlight or on heavily heated bodywork.
Positioning and application
Check the position of the decal section before removing its backing paper.
Peel the backing paper away gradually rather than removing it all at once.
For the recommended wet application, use only fluid suitable for the supplied vinyl and carefully squeegee it out from the centre towards the edges.
Use the adhesive’s air channels to gently move trapped air towards the edges.
Have a second person help with larger decal sections.
Tip: If a section is incorrectly positioned, gently lift the vinyl, realign it and squeegee it down again. Do not pull sharply on the vinyl.
Curves, edges and recesses
Gently warm strongly curved areas with a hairdryer or heat gun.
Distribute heat evenly and keep a sufficient distance from the vinyl.
Stretch the vinyl only as much as necessary to shape it.
Avoid overstretching, which may distort the design and reduce adhesion.
After positioning, warm edges, channels and recesses again and press them down carefully.
After installation
Check all edges and transitions for complete adhesion.
Keep the motorcycle dry and preferably at room temperature for at least 24 hours after installation.
Avoid riding, rain and washing the vehicle during this time.
When cleaning later, do not direct a pressure washer at vinyl edges.
Development and fitment
4moto developed this decal design for the specified motorcycle application and checked its fitment on a vehicle. The cutting templates are predominantly handmade, so minor tolerances are possible.
Digital printing and vinyl cutting explained
What is digital printing?
The printing process
Digital printing applies the design directly to self-adhesive vinyl using specialised printers. It is particularly suitable for multicoloured designs, gradients, shading, photographic images and complex logos.
Contour cutting
After printing, the decal sections are machine-cut along their outer contours. This allows complex shapes to be produced to suit the motorcycle bodywork.
Protective laminate
The printed vinyl is then sealed with a transparent UV-protective laminate. This protects the print from sunlight, moisture, dirt, fuel splashes and mechanical wear. The laminate also determines the finish: depending on your selection, the decals are supplied with a gloss or matt surface.
What is a vinyl-cut decal?
Cut from vinyl rather than printed
For a vinyl-cut decal, the design is not printed onto vinyl. A cutting plotter cuts lettering, logos or shapes directly from coloured adhesive vinyl, which is usually a single colour.
Weeding and transferring
After cutting, unwanted vinyl is removed by hand, a process known as weeding. Transfer film is then applied to the design. It holds individual letters and design elements in their intended positions. After application, the transfer film is peeled away, leaving only the vinyl design on the surface.
Applications
Vinyl-cut decals are particularly suitable for single-colour lettering, race numbers, logos and simple graphic designs. Depending on the vinyl used, they can be applied dry or wet.
Frequently asked questions
Will the decal kit fit my motorcycle?
Suitable for the Honda Africa Twin CRF1100L, model years 2020–2021. Suitable for the original OEM road bodywork. Fitment may vary with racing or aftermarket bodywork.
Which version is supplied?
The version selected for the product is supplied. Additional rim, fork or case decals are included only when explicitly specified or selected.
Can I reorder individual sections?
Yes, by email. Please provide part number HDS-39200-2 and the name or a photograph of the section required.
Discover Turquoise vinyl graphics for the Honda Africa Twin CRF1100L 2020–2021 by 4moto. Check model, years and selected version before ordering.